AUTOMATIC1111 Stable Diffusion webui is the de facto GUI for advanced users.
This guide will teach you how to use it. You can use it as a tutorial. There are plenty of examples you can follow step-by-step.
If you don't know how to install Stable Diffusion, please check here: Windows and Mac.
Text-to-image
You will see the txt2img tab when you first start the GUI. This tab does the most basic function of Stable Diffusion: turning a text prompt into images.
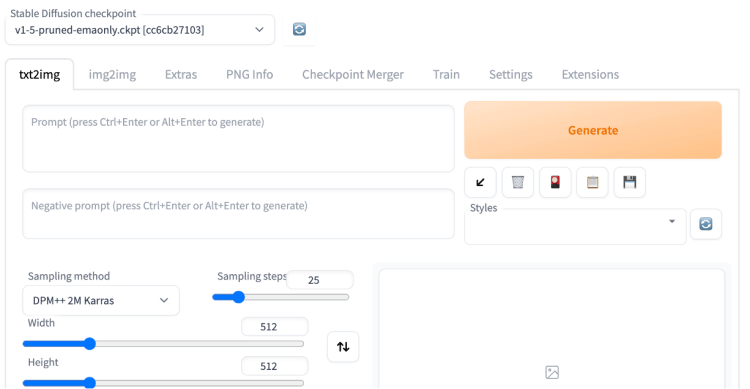
In the top left-hand corner, you can choose the Stable Diffusion model that you would like to use. As a beginner, you can select the default one for trial.
In the Prompt input box, you need to enter detailed description for the image you want to generate. If you don't want something in your image, enter the corresponding text in the Negative Prompt input box.
Continue looking down and you will see more settings. Let’s focus on some important parameters.
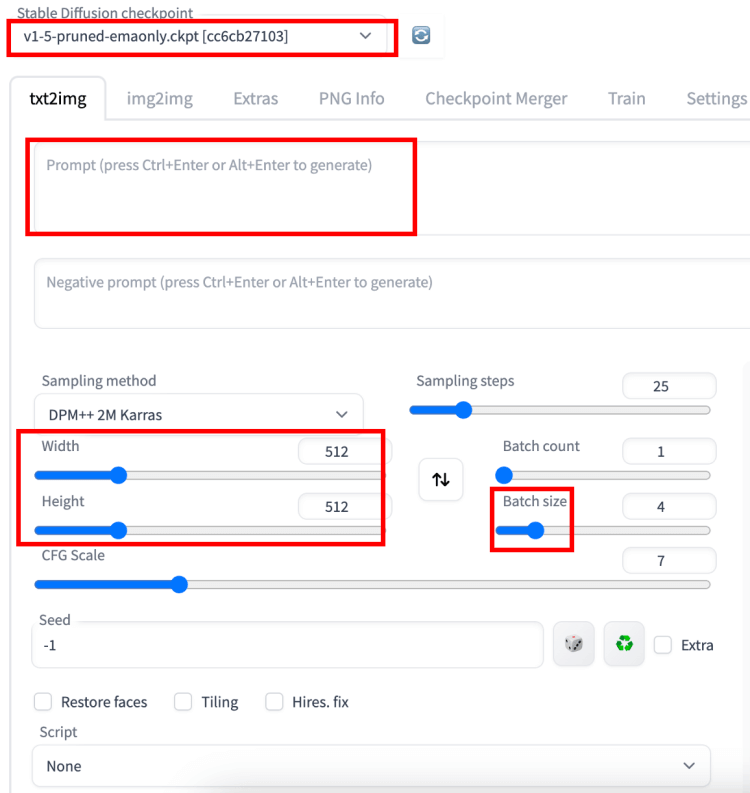
Sampling method
It means what algorithm you use to generate the image. The most common used ones are Euler a, DPM++2M Karras, and DPM++SDE Karras.
Sampling steps
It means how many times will the image be refined before you see it. Use at least 20 steps. Increase if you see a blurry image, but preferably no more than 50.
Width / Height
The standard size of the image is 512×512 pixels. If you want a higher resolution image, then change the values of the Width and the Height.
Batch count / Batch size
Batch count means how many images you want to get as part of the output. Batch size means how many images are worked on at the same time. Feel free to change the values if you want to generate multiple images at once.
CFG Scale
This defines how closely Stable Diffusion should match the prompt that you enter in above. Typical value is 7. Increase if you want the image to follow the prompt more, but preferably no more than 12.
Seed
Seed is essentially the randomly generated number which serves as a basis for the image generation process. It shouldn’t really concern you in the beginning. So just keep the default of -1.
After setting the parameters, you can click the Generate button at the top right to generate the image.
Image-to-image
Click the img2img tab to use the image-to-image feature.
You need to drag and drop the base image to the img2img tab on the img2img page, and then adjust the settings.
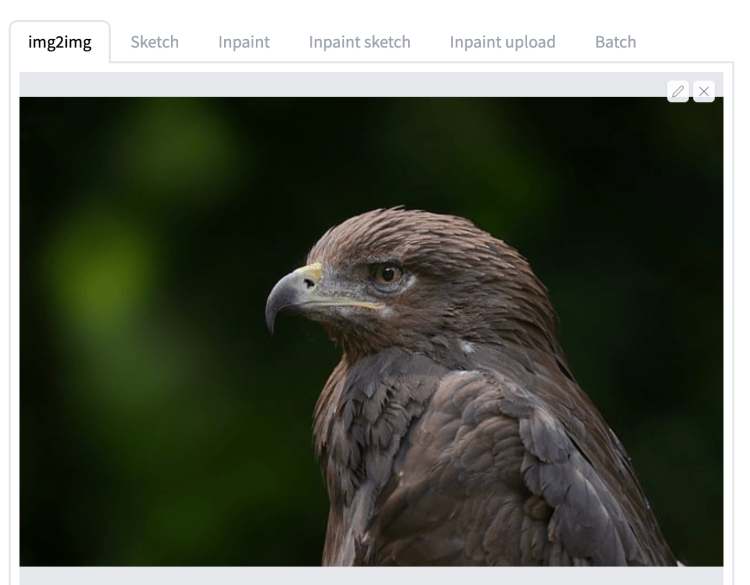
Most of the parameters are similar to those of the tex2img. But maybe you need to note this:
Denoising strength
It’s used to control how much the image will change. If set to 0, nothing will change; if set to 1, the new image will not follow the input image. 0.75 is a good starting point that have a good amount of changes.
After setting the parameters, you can click the Generate button at the top right to generate the image.
If you want to add some models for advanced play, here are two helpful posts: